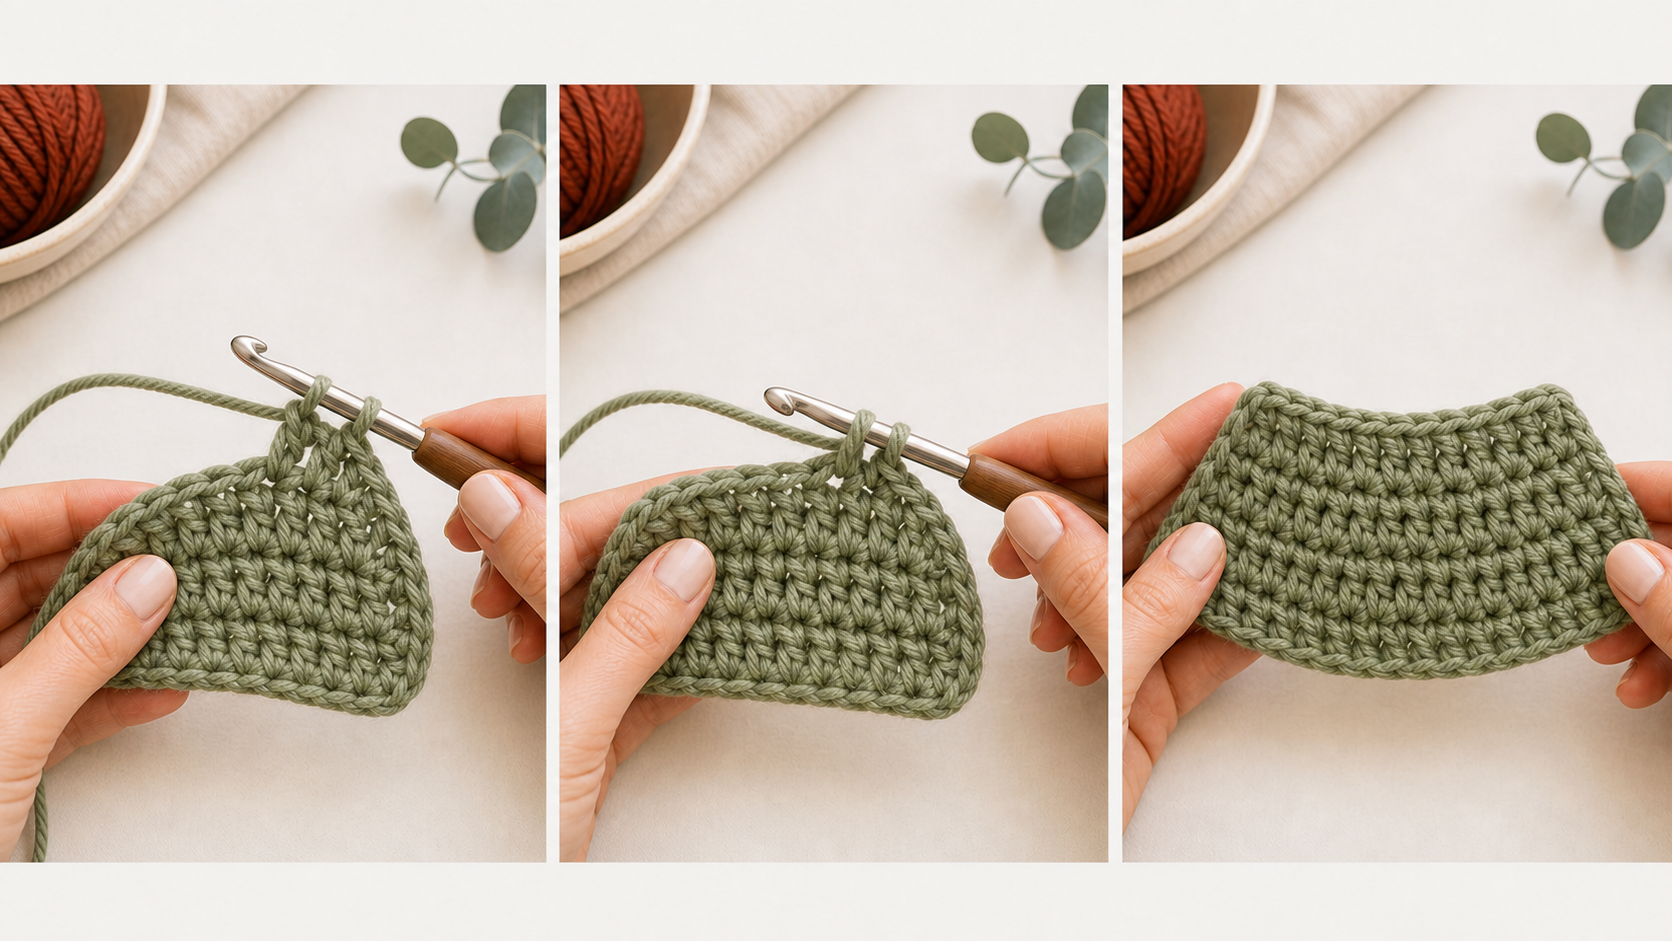
Step by step
Understand the stitch count
Shaping changes the number of stitches in a row or round. Read the target stitch count before you start.
Check: You know how many stitches the row should have when finished.
Make an increase
Work two stitches into the same stitch. This adds one stitch and makes the fabric wider or rounder.
Check: One stitch from the previous row now holds two new stitches.
Make a decrease
Join two stitches together according to the pattern instructions. This removes one stitch and narrows the fabric.
Check: Two stitch positions become one completed stitch.
Place shaping evenly
Patterns often space increases or decreases across a row. Use markers to divide sections if needed.
Check: The shaping is spread where the pattern asks for it.
Count immediately
Count after every shaping row or round. Fix mistakes before more rows hide the problem.
Check: Your finished stitch count matches the pattern.
Practice
- Make a 12-stitch row and increase twice on the next row.
- Make another row and decrease twice.
- Compare how the fabric edge changes shape.
Common mistakes
The shaping lands in the wrong spot.
Place stitch markers before starting the row so you know where changes happen.
The count is off after shaping.
Count before and after the shaping row, not several rows later.
The decrease looks bulky.
Keep loops even and avoid pulling the joined stitches too tight.