Instructions
Back Panel
0/4Notes
- •Ch 3 counts as dc throughout garment panels.
Ch 91. Row 1: dc in 4th ch from hook and each chain across—89 dc.
Rows 2–42: ch 3, turn; dc in each stitch across—89 dc.
Armhole Row 43: sl st across first 6 stitches, ch 3, dc across leaving final 6 stitches unworked—77 dc.
Rows 44–61: ch 3, turn; dc in each stitch across—77 dc. Fasten off.
Front Panels — Make Two
0/6Notes
- •Reverse shaping for the second front.
Ch 47. Row 1: dc in 4th ch and across—45 dc.
Rows 2–42: ch 3, turn; dc in each stitch across—45 dc.
Armhole Row 43: at side edge, sl st across 6 stitches, ch 3, dc across—39 dc.
Rows 44–51: ch 3, turn; dc in each stitch across—39 dc.
Neck Row 52: work 27 dc from armhole edge and leave 12 center-front stitches unworked—27 dc.
Rows 53–61: ch 3, turn; dc2tog at neck edge and dc in remaining stitches; repeat until 18 shoulder stitches remain. Fasten off.
Shoulder and Side Assembly
0/3Notes
- •Block the three body panels to measurements before seaming.
With right sides together, seam each 18-stitch front shoulder to the corresponding back shoulder edge.
Seam each side from hem to the lower armhole edge, leaving a 7.5 in (19 cm) armhole opening.
Turn the body right side out and mark the top, bottom, front, and back quarter points of each armhole.
Sleeves — Make Two
0/5Notes
- •Work joined rounds and turn after each join.
Round 1: join at underarm; ch 3 and work 60 dc evenly around armhole; join—60 dc.
Rounds 2–4: ch 3, turn; dc in each stitch around; join—60 dc.
Decrease Round 5: ch 3, turn; dc2tog, dc around to final 2 stitches, dc2tog; join—58 dc.
Rounds 6–31: alternate one even round with one decrease round until 34 stitches remain.
Cuff Rounds 32–36: ch 1, turn; sc in back loop only of each stitch; join—34 sc. Fasten off.
Front and Neck Band
0/5Notes
- •Space stitches evenly to prevent rippling.
Join at lower right front. Row 1: ch 1, sc evenly up right front, around back neck, and down left front; turn.
Rows 2–3: ch 1, sc in back loop only across entire band; turn.
Buttonhole Row 4: sc along left front, working four evenly spaced (ch 2, skip 2) buttonholes; continue around neck and down right front.
Row 5: ch 1, turn; sc in every stitch and 2 sc in each ch-2 space. Fasten off.
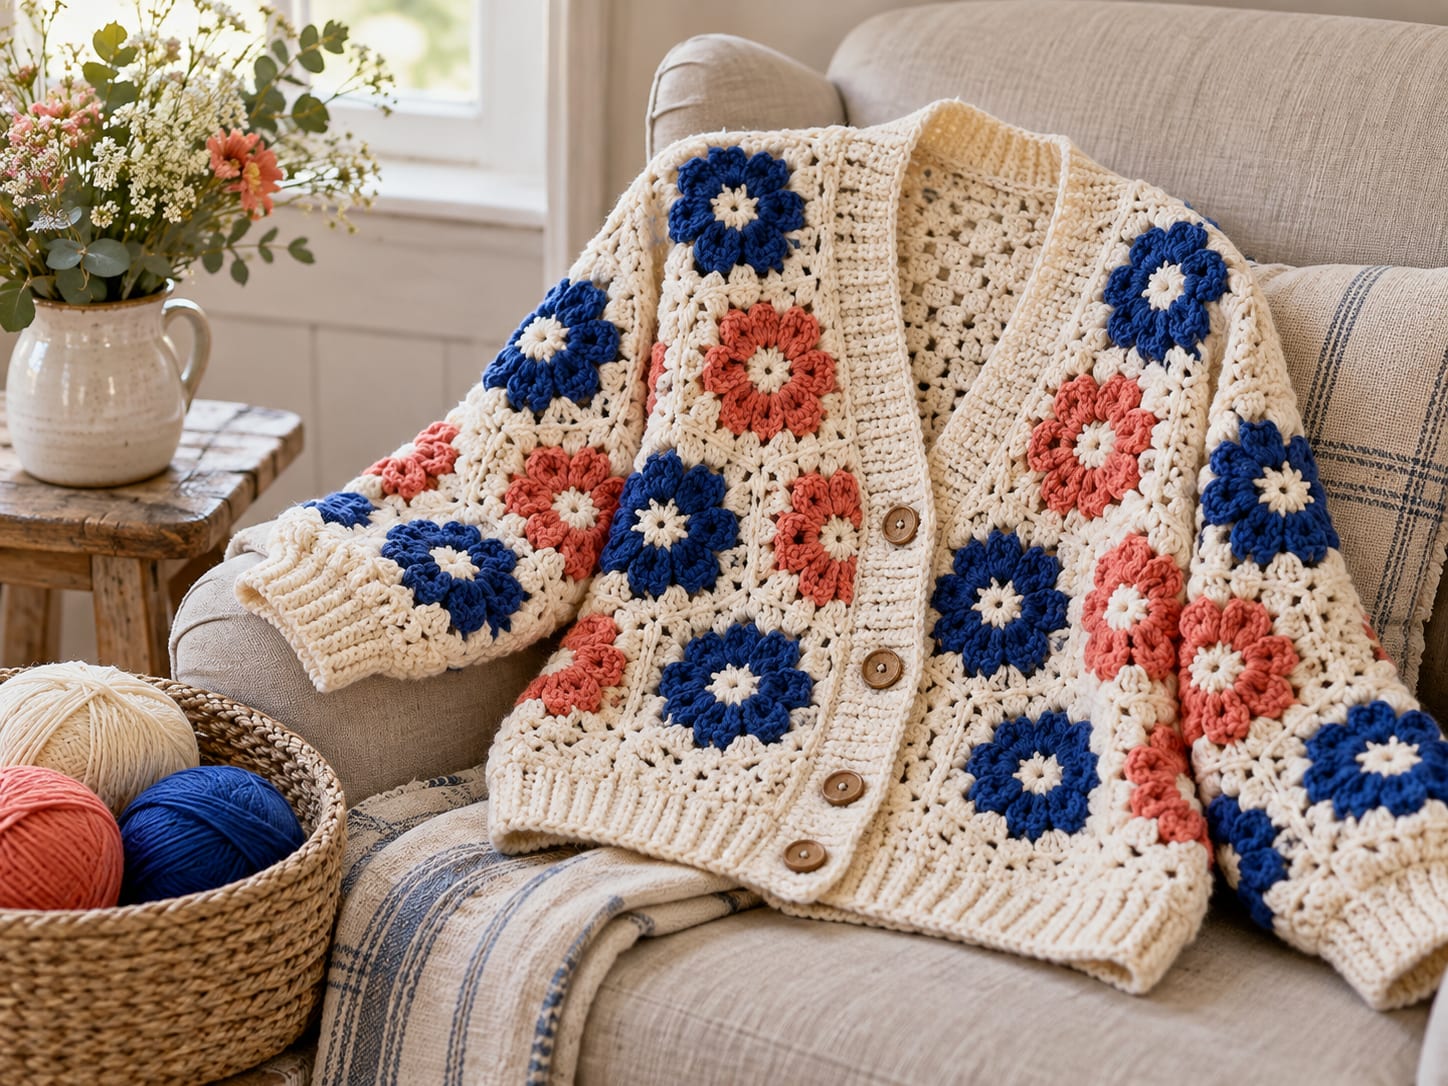
Sew four buttons to the right front opposite the buttonholes.
Flower Motifs — Make Twelve
0/4Notes
- •Arrange flowers before sewing so colors are balanced.
Round 1: make magic ring; ch 1, work 10 sc in ring; join.
Round 2: *sl st in next stitch, (ch 2, 3 dc, ch 2, sl st) in next stitch; repeat five times to form five petals. Fasten off.
Block the flowers, then sew them around the lower fronts and sleeve cuffs through the center ring and petal tips.
Weave in all ends, wet-block the finished cardigan to measurements, and dry flat.
FAQ
Questions about this pattern
Is Crochet Flower Cardigan for Women good for beginners?+
Crochet Flower Cardigan for Women is marked intermediate, so it is better after you have finished a few crochet patterns for beginners. Read the full instructions first and check each shaping or assembly note before starting.
What yarn weight do I need for Crochet Flower Cardigan for Women?+
This pattern lists DK (3). If you substitute yarn, make a gauge swatch before starting so the finished size stays close to the pattern notes.
How long does Crochet Flower Cardigan for Women take to crochet?+
The estimated time is 24–32 hours. Your pace may change depending on yarn choice, stitch familiarity, and how much finishing the project needs.
Do I need to check gauge for this crochet pattern?+
Yes. The pattern gauge is 16 dc and 9 rows = 4 in (10 cm) after blocking.. Use the listed hook size, 4.5 mm (7), unless your swatch tells you to adjust. Checking gauge helps avoid a finished project that is too small, too large, or too stiff.
Can I print Crochet Flower Cardigan for Women?+
Yes. Use the Print button near the top of the post for a cleaner pattern view that hides interactive extras and navigation.