Instructions
Free crochet baby set pattern Basics
0/0Notes
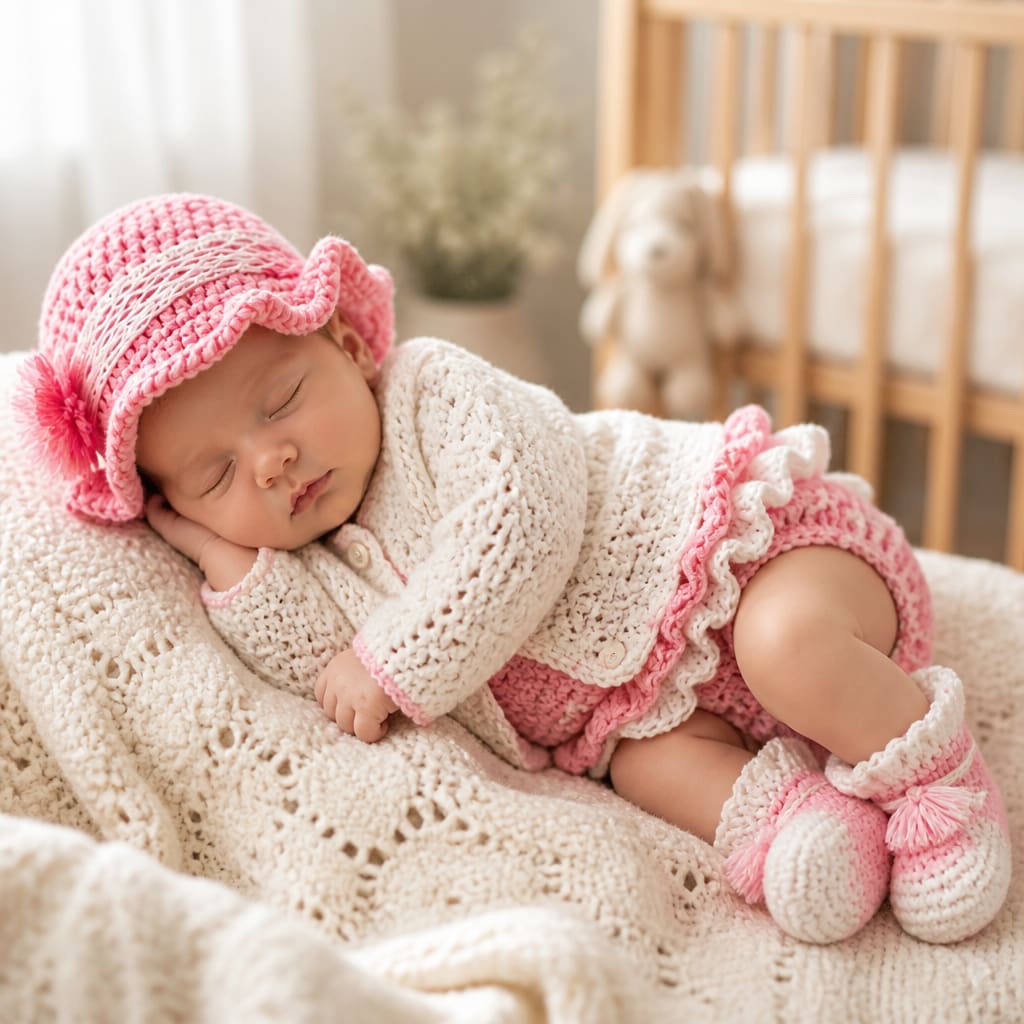
- •This Free crochet baby set pattern includes organized steps, materials, and helpful resources for crocheters.
- •Diaper cover is worked in one piece from front waist to leg openings, then up to back waist. Do not fasten off until instructed to do so.
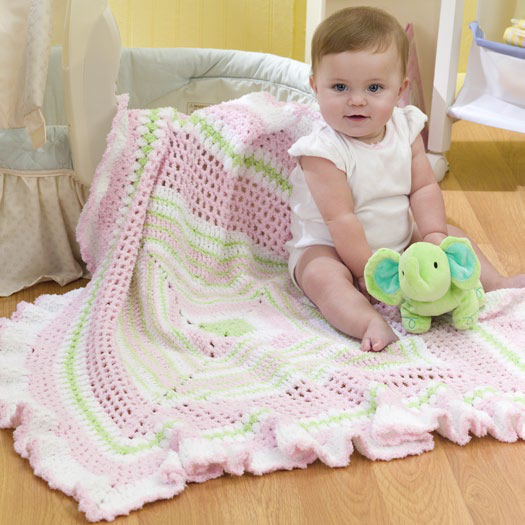
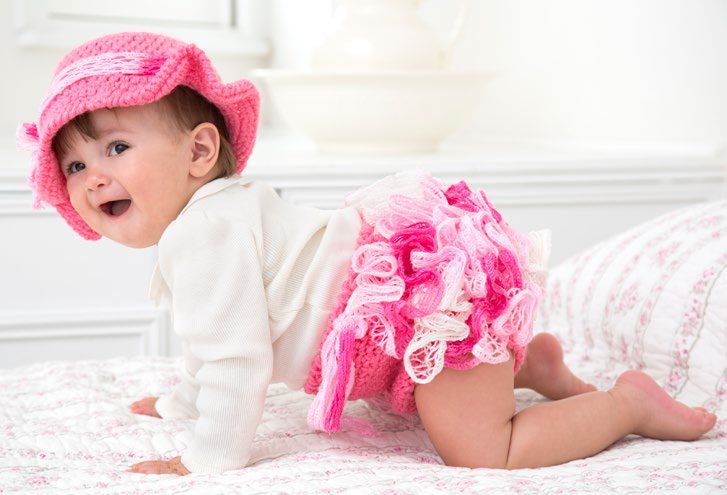
- •Ruffles are added to unworked loops of back. Cut edges of mesh yarn can be sandwiched between side seams for a neater appearance.
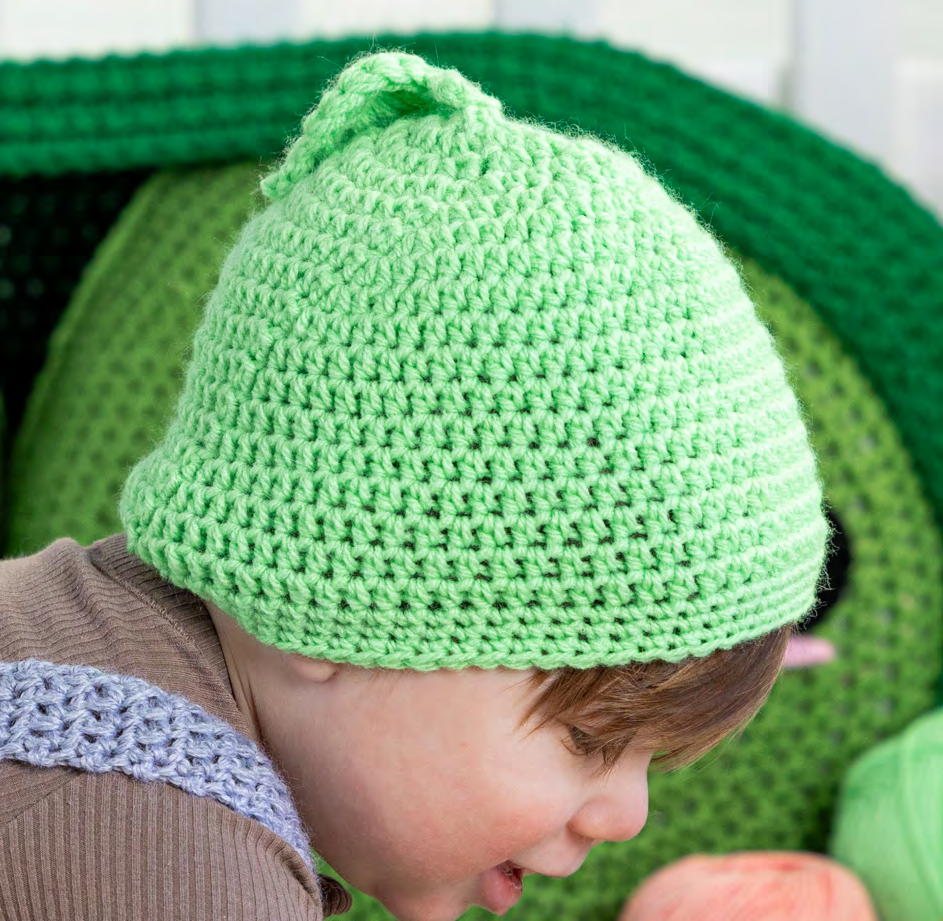
- •Hat is worked in continuous rounds (spiral) from top down ending with a floppy brim. Lengths of B are added as trim and a bow.
- •Directions are for size Infant 3 months. Changes for sizes Infant 6 months and Infant 12 months are in parentheses.
- •For more baby crochet patterns, browse our catalog. For help with stitches, visit the Craft Yarn Council.
Diaper Cover – Front
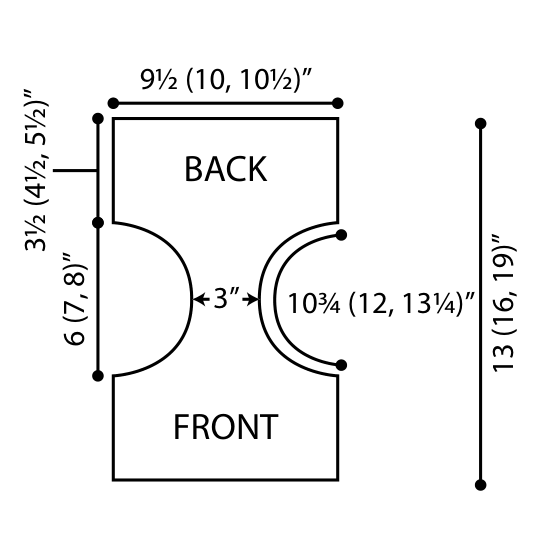
0/4With larger hook and A, ch 21 (23, 25).
Row 1 (right side): Sc in second ch from hook and in each ch across, turn—20 (22, 24) sc.
Row 2: Ch 1, sc in each st, turn.
Repeat Row 2 until front measures 3½ (4½, 5½)" [9 (11.5, 14) cm], ending on right side row.
Diaper Cover – Leg Openings
0/8Row 1: Slip st in first 3 sts, sc in next 14 (16, 18) sts; leave last 3 sts unworked, turn—14 (16, 18) sc.
Row 2 (right side): Sc2tog, sc in each st to last 2 sts, sc2tog, turn—12 (14, 16) sc.
Row 3: Ch 1, sc in each st, turn.
Rows 4–9 (11, 13): Repeat Rows 2 and 3 three (four, five) times—6 sc.
Row 10 (12, 14): Ch 1, 2 sc in first st, sc in each st to last st, 2 sc in last st, turn—8 sc.
Row 11 (13, 15): Ch 1, sc in each st, turn.
Rows 12 (14, 16)–17 (21, 25): Repeat Rows 10 (12, 14) and 11 (13, 15) three (four, five) times, turn—14 (16, 18) sc.
Rows 18 (22, 26) and 19 (23, 27): Ch 4, sc in 2nd ch from hook and in next 2 ch, sc in each st across, turn—20 (22, 24) sc.
Diaper Cover – Back
0/4Row 20 (24, 28): Ch 1, working in back loops only, sc in each st, turn.
Row 21 (25, 29): Ch 1, sc in each st, turn.
Repeat last 2 rows until back measures 3½ (4½, 5½)" [9 (11.5, 14) cm] from Row 19 (23, 27), ending with a Row 21 (25, 29).
Fasten off.
Diaper Cover – Ruffles
0/2Notes
- •Working with Mesh Yarn: First spread the yarn open with ladder edge at top and wider metallic edge at bottom. Continue to spread the yarn open as you work so that you can see the spaces of the top ladder edge. Stitches are made by inserting the hook into a space of the top ladder and through the unworked front loops of A, then pulling the uppermost strand of B through the stitches and loops on the hook. Always insert the hook from the front to the back through each space. Skipping a space as you insert the hook will create a fuller ruffle. At the beginning of a row, turn in end of mesh yarn and work through double 'thickness' of first spaces. To fasten off, work to last st in row, cut mesh yarn leaving at least 5 spaces intact (more if you are skipping spaces for the fuller ruffle), sc in last st, pull the last strand carefully through the stitch and tighten.
*Join B with slip st to first unworked front loop of Row 20 (24, 28), ch 1, sc in each unworked loop across. Fasten off. Repeat from * for each right side row to top of back.
Optional: With sewing needle and matching thread, sew down the loose ends of B at last st of each row. With A, sew side seams.
Diaper Cover – Waistband
0/3With right side facing and larger hook, join A with slip st in last st before side seam.
Round 1 (right side): Ch 4 (counts as first dc and ch 1), skip next st, *dc in next st, ch 1, skip next st; repeat from * around; join with slip st in 3rd ch of beginning ch-4—20 (22, 24) dc and 20 (22, 24) ch-1 sps.
Round 2: Ch 1, reverse sc in each dc and ch-1 space around; join with slip st in first st—40 (44, 48) reverse sc. Fasten off.
Diaper Cover – Finishing
0/3Join A with sc in any st of leg opening and sc evenly spaced around; join with slip st in first sc. Fasten off. Repeat for 2nd leg opening.
Weave in ends.
Cut two 1 yd (1 m) lengths of B for ties. Make a knot at each end to prevent tearing. Thread through ch-1 spaces of front from side seam to side seam; repeat for back. Tie bows at sides.
Hat
0/10Notes
- •Hat is worked in continuous rounds (spiral) from top down. Place marker in first st and move up as each round is completed.
- •Find more free patterns in our patterns catalog and connect with other crocheters on Ravelry.
With smaller hook and A, ch 7.
Round 1: Work 3 sc in second ch from hook, hdc in next 4 ch, 3 sc in last ch; working on opposite side of foundation ch, hdc in next 4 ch—14 sts.
Round 2: [2 sc in next 3 sc, hdc in next 4 hdc] twice—20 sts.
Round 3: *[Sc in next sc, 2 sc in next sc] 3 times, hdc in next 4 hdc; repeat from * once—26 sts.
Round 4: *[Sc in next 2 sc, 2 sc in next sc] 3 times, hdc in next 4 hdc; repeat from * once—32 sts.
Round 5: *[Sc in next 3 sc, 2 sc in next sc] 3 times, hdc in next 4 hdc; repeat from * once—38 sts.
Round 6: *[Sc in next 4 sc, 2 sc in next sc] 3 times, hdc in next 4 hdc; repeat from * once—44 sts.
Round 7: *[Sc in next 5 sc, 2 sc in next sc] 3 times, hdc in next 4 hdc; repeat from * once—50 sts.
Round 8: Hdc in each st around.
Repeat last round until hat measures 5½" (14 cm). Do not fasten off.
Hat – Brim
0/4Round 1: [Work 2 hdc in next 12 sts, sc in next 13 sts] twice—74 sts.
Round 2: *[Hdc in next st, 2 hdc in next st] 12 times, hdc in next 13 sts; repeat from * once—98 sts.
Round 3: Hdc in each st; join with slip st in first hdc.
Round 4: Ch 1, reverse sc in each st; join with slip st in first st. Fasten off.
Hat – Finishing
0/3Weave in ends.
Hatband: Cut a 19" (48.5 cm) length of B. Fold under ½" (1.5 cm) on each end and sew ends together with matching thread. Place just above brim, positioning seam where bow will be sewn; tack in place.
Bow: Cut 5" (12.5 cm) and 10" (25.5 cm) lengths of B. Tie a knot in each end of longer piece. Fold into a bow shape (two loops and two straight ends). Wrap shorter piece of B around center of bow. Using sewing needle and matching thread, sew to hatband over seam.
FAQ
Questions about this pattern
Is Free Crochet Baby Set Pattern good for beginners?+
Yes. Free Crochet Baby Set Pattern is marked easy and includes step-by-step instructions, materials, gauge notes, and progress checkboxes.
What yarn weight do I need for Free Crochet Baby Set Pattern?+
This pattern lists Worsted (4) and Bulky (5). If you substitute yarn, make a gauge swatch before starting so the finished size stays close to the pattern notes.
How long does Free Crochet Baby Set Pattern take to crochet?+
The estimated time is 10–15 hours. Your pace may change depending on yarn choice, stitch familiarity, and how much finishing the project needs.
Do I need to check gauge for this crochet pattern?+
Yes. The pattern gauge is With larger hook: 9 sts = 4" (10 cm) in pattern; 12 rows = 4" (10 cm) in single crochet. With smaller hook: 12 sts = 4" (10 cm) in pattern; 10 rounds = 4" (10 cm) in half double crochet.. Use the listed hook size, 6 mm (J-10 US), unless your swatch tells you to adjust. Checking gauge helps avoid a finished project that is too small, too large, or too stiff.
Can I print Free Crochet Baby Set Pattern?+
Yes. Use the Print button near the top of the post for a cleaner pattern view that hides interactive extras and navigation.