Instructions
Free crochet baby tunic Basics
0/15Notes
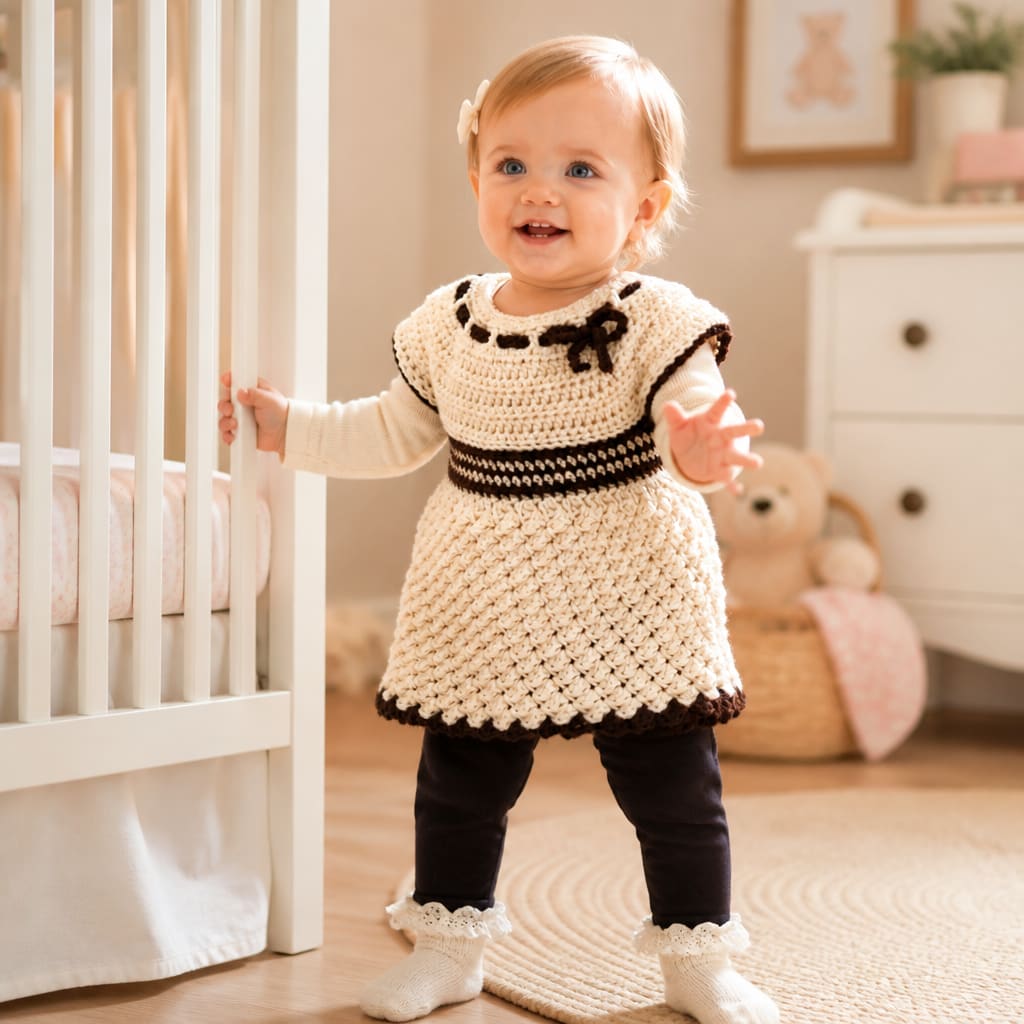
- •This Free crochet baby tunic includes organized steps, materials, and helpful resources for crocheters.
- •Yoke is worked back and forth in turned rows. Follow the instructions for your size.
- •Helpful resources: patterns catalog, crochet patterns for adults, Craft Yarn Council, Ravelry.
Row 1 [right (wrong, right, right) side]: Hdc in 3rd ch from hook (beginning skipped ch do not count as a st) and in each remaining ch across, turn—61 (65, 69, 73) hdc.
Row 2: Ch 1, hdc in first st, *ch 2, skip next st, hdc in next st; repeat from * across, turn—31 (33, 35, 37) hdc and 30 (32, 34, 36) ch-2 spaces.
Row 3: Ch 1, hdc in first st, *2 hdc in next ch-2 space, hdc in next st; repeat from * across, turn—91 (97, 103, 109) hdc.
Rows 4 and 5: Ch 1, hdc in each st across, turn.
Row 6: Ch 1, hdc in first 1 (1, 3, 4) st(s), *2 hdc in next st, hdc in next 17 (31, 19, 20) sts; repeat from * across, turn—96 (100, 108, 114) hdc.
Size 6 months only — Row 7: Ch 1, 2 hdc in first st, hdc in next 11 (9, 26, 18) sts, *2 hdc in next st, hdc in next 11 (9, 26, 18) sts; repeat from * across, turn—104 (110, 112, 120) hdc.
Size 6 months only — Row 8: Ch 1, 2 hdc in first st, hdc in next 12 sts, *2 hdc in next st, hdc in next 12 sts; repeat from * across; change to B, turn—112 (110, 119, 126) hdc.
Size 12 months only — Row 8: Ch 1, hdc in each st across, turn—110 hdc.
Size 12 months only — Row 9: Ch 1, 2 hdc in first st, hdc in next 10 sts, *2 hdc in next st, hdc in next 10 sts; repeat from * across; change to B, turn—120 hdc.
Size 18 months only — Row 8: Ch 1, 2 hdc in first st, hdc in next 15 sts, *2 hdc in next st, hdc in next 15 sts; repeat from * across, turn—119 hdc.
Size 18 months only — Row 9: Ch 1, hdc in first 2 sts, *2 hdc in next st, hdc in next 12 sts; repeat from * across, turn—128 hdc.
Size 18 months only — Row 10: Ch 1, hdc in each st across; change to B, turn.
Size 24 months only — Row 8: Ch 1, 2 hdc in first st, hdc in next 19 sts, *2 hdc in next st, hdc in next 19 sts; repeat from * across, turn—126 hdc.
Size 24 months only — Row 9: Ch 1, 2 hdc in first st, hdc in next 20 sts, *2 hdc in next st, hdc in next 20 sts; repeat from * across, turn—132 hdc.
Size 24 months only — Row 10: Ch 1, 2 hdc in first st, hdc in next 32 sts, *2 hdc in next st, hdc in next 32 sts; repeat from * across; change to B, turn—136 hdc.

Bodice
0/6Notes
- •To minimize weaving in ends, carry color not in use on wrong side until next needed.
- •Bodice is worked in joined rounds with right side facing at all times.
Round 1 (right side): Ch 1, working in back loops only, sc in each st around; change to A; join with slip st in first sc—112 (120, 128, 136) sc.
Round 2: Ch 1, sc in first 15 (16, 17, 18) sts, ch 2, skip next 26 (28, 30, 32) sts (first armhole made), sc in next 30 (32, 34, 36) sts, ch 2, skip next 26 (28, 30, 32) sts (second armhole made), sc in last 15 (16, 17, 18) sts; change to B; join with slip st in first sc—60 (64, 68, 72) sc and 2 armholes.
Round 3: Ch 1, sc in each sc around; change to A; join with slip st in first sc—60 (64, 68, 72) sc.
Round 4: Ch 1, sc in each sc around; change to B; join with slip st in first sc.
Round 5: Repeat Round 3.
Round 6: Ch 1, working in back loops only, sc in each st around; join with slip st in first sc. Do not fasten off. Turn work to wrong side and change to larger hook.
Skirt
0/3Notes
- •Skirt is worked in continuous (spiral) rounds. Do not join unless instructed. Place marker for beginning of round and move marker up as each round is completed.
Round 1 (wrong side): Ch 1, shell in first st, *skip next st, shell in next st; repeat from * around, skip last st—30 (32, 34, 36) shells. Do not join rounds until instructed. Place marker for beginning of round and move marker up as each round is completed.
Round 2: Shell in sc of each shell around.
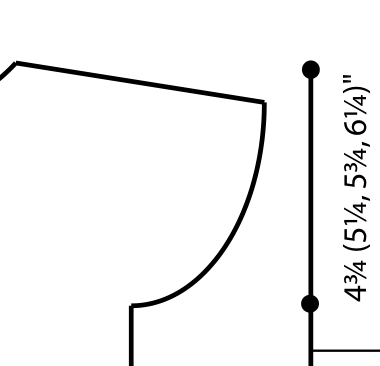
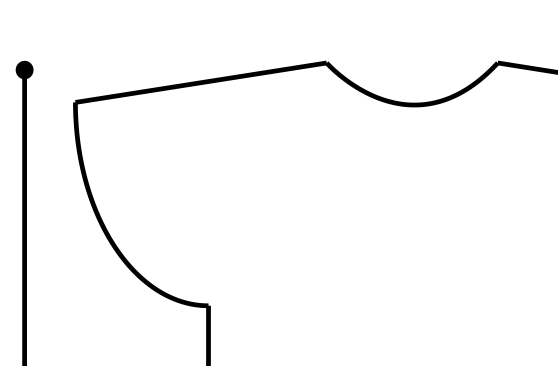
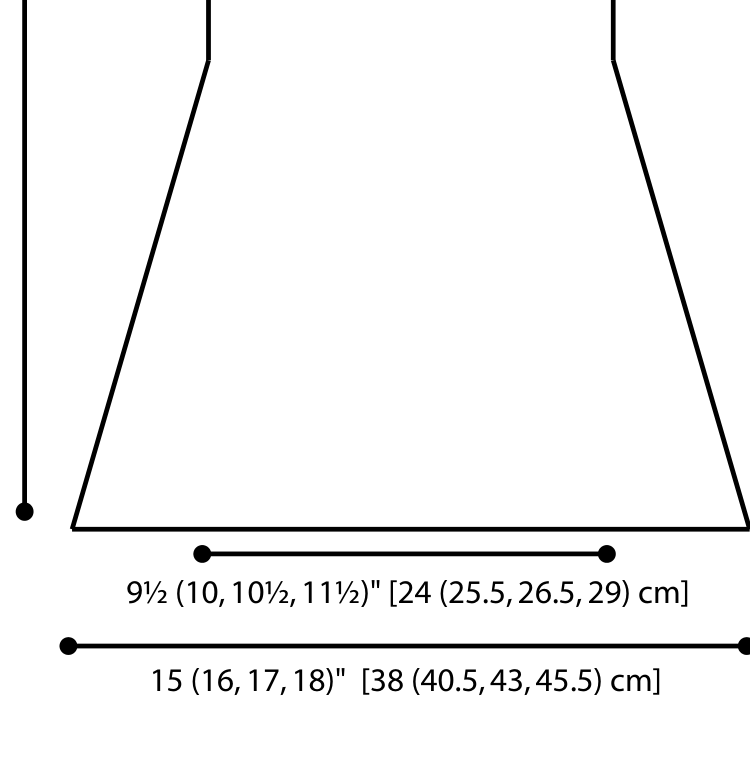
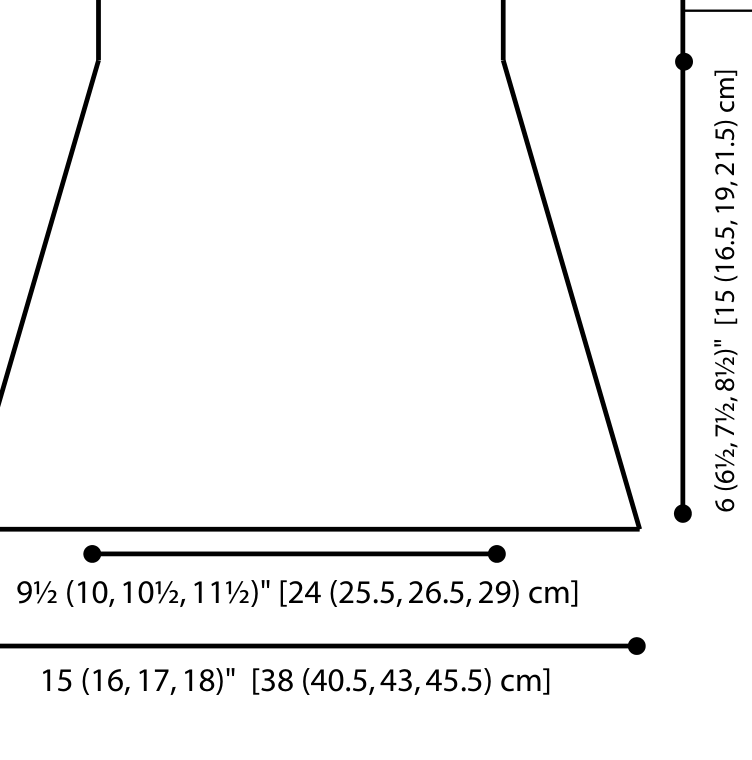
Repeat Round 2 until skirt measures 6 (6½, 7½, 8½)" [15 (16.5, 19, 21.5) cm] from bottom of bodice; join with slip st in sc of first shell at end of last round. Fasten off.
Bodice Hem Edging
0/2Round 1: With wrong side facing, join B with sc in same sc as join, 2 dc in same st, shell in sc of each shell around.
Round 2: Shell in sc of each shell around; join with slip st in first sc. Fasten off.
Neckline Edging
0/1Row 1: With right side of yoke facing, join A with sc in end of first row of left back above bodice; working in ends of rows, sc evenly spaced across to last row, (sc, ch 5, sc) in last row (buttonhole made); working in opposite side of foundation ch, sc in each ch around to last ch, 3 sc in last ch; working in ends of rows of right back, skip first row, sc evenly spaced across. Fasten off.
Finishing
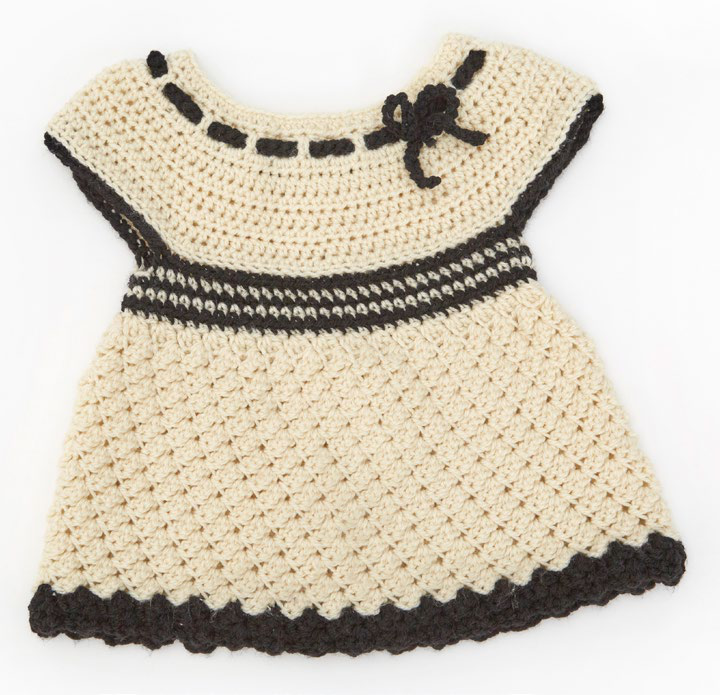
0/3Neckline Trim: With B, ch 100 or as many ch as needed to fit around Row 2 of yoke, slip st in 2nd ch from hook and in each ch across. Fasten off. Beginning at edge of Row 2, skipping as many sts as desired, evenly weave trim over and under sts. Distribute trim evenly and tack edges to neckline edging.
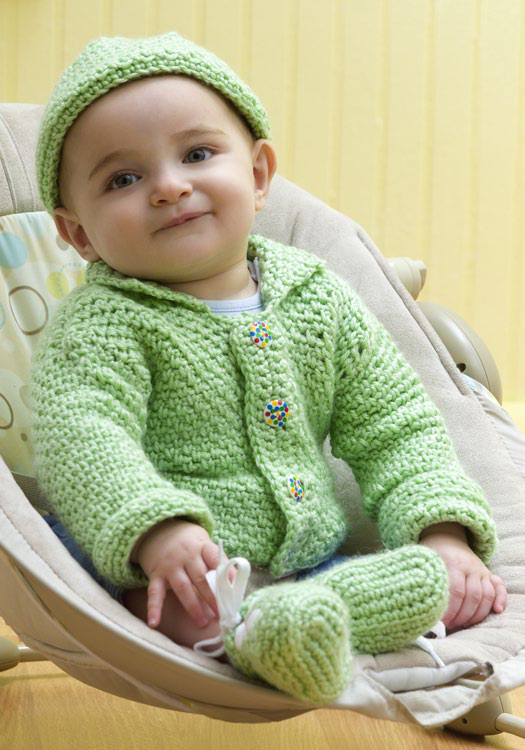
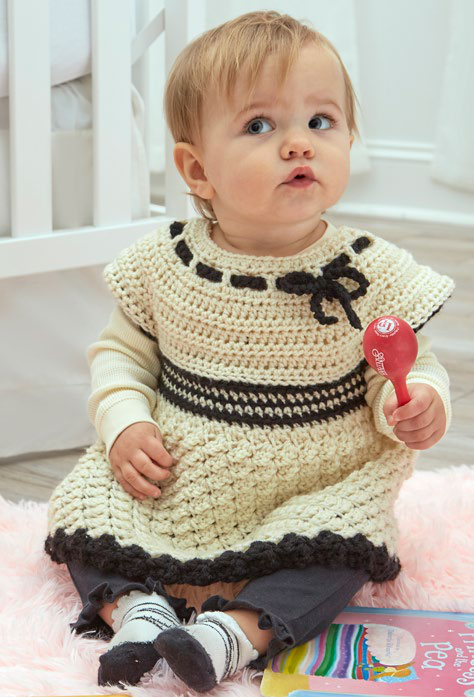
Bow: With B, ch 41, slip st in 2nd ch from hook and in each ch across. Fasten off. Shape into a bow and tack at center to hold in place. Referring to photograph, sew to neckline trim or where desired.
Sew button to 3-sc group of neckline edging.
FAQ
Questions about this pattern
Is Free Crochet Baby Tunic good for beginners?+
Yes. Free Crochet Baby Tunic is marked easy and includes step-by-step instructions, materials, gauge notes, and progress checkboxes.
What yarn weight do I need for Free Crochet Baby Tunic?+
This pattern lists 3-DK Light. If you substitute yarn, make a gauge swatch before starting so the finished size stays close to the pattern notes.
How long does Free Crochet Baby Tunic take to crochet?+
The estimated time is 10-15 hours. Your pace may change depending on yarn choice, stitch familiarity, and how much finishing the project needs.
Do I need to check gauge for this crochet pattern?+
Yes. The pattern gauge is 14 hdc = 4" (10 cm); 9 rows = 4" (10 cm) with smaller hook; 5 shells = 4" (10 cm); 10 rows = 4" (10 cm) with larger hook.. Use the listed hook size, 5.5mm (US I-9), unless your swatch tells you to adjust. Checking gauge helps avoid a finished project that is too small, too large, or too stiff.
Can I print Free Crochet Baby Tunic?+
Yes. Use the Print button near the top of the post for a cleaner pattern view that hides interactive extras and navigation.