Instructions
Free crochet entrelac blanket pattern Basics
0/0Notes
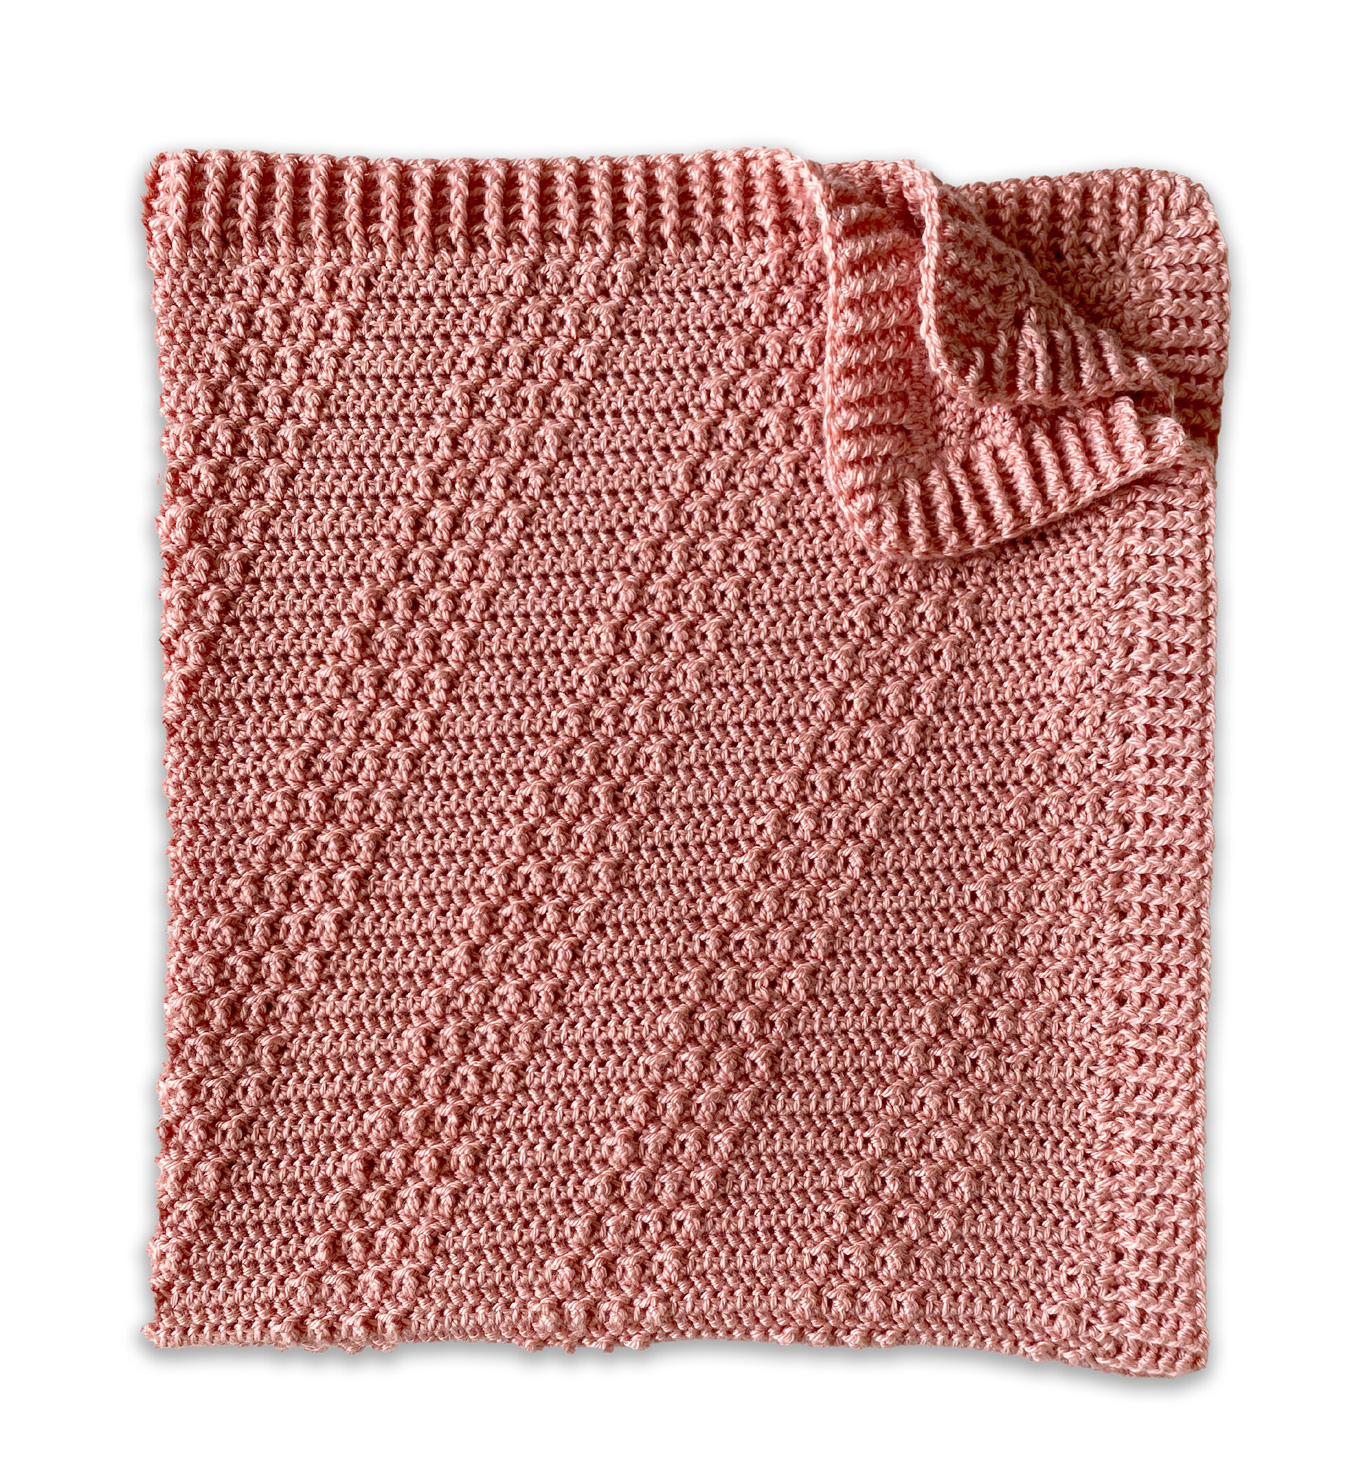
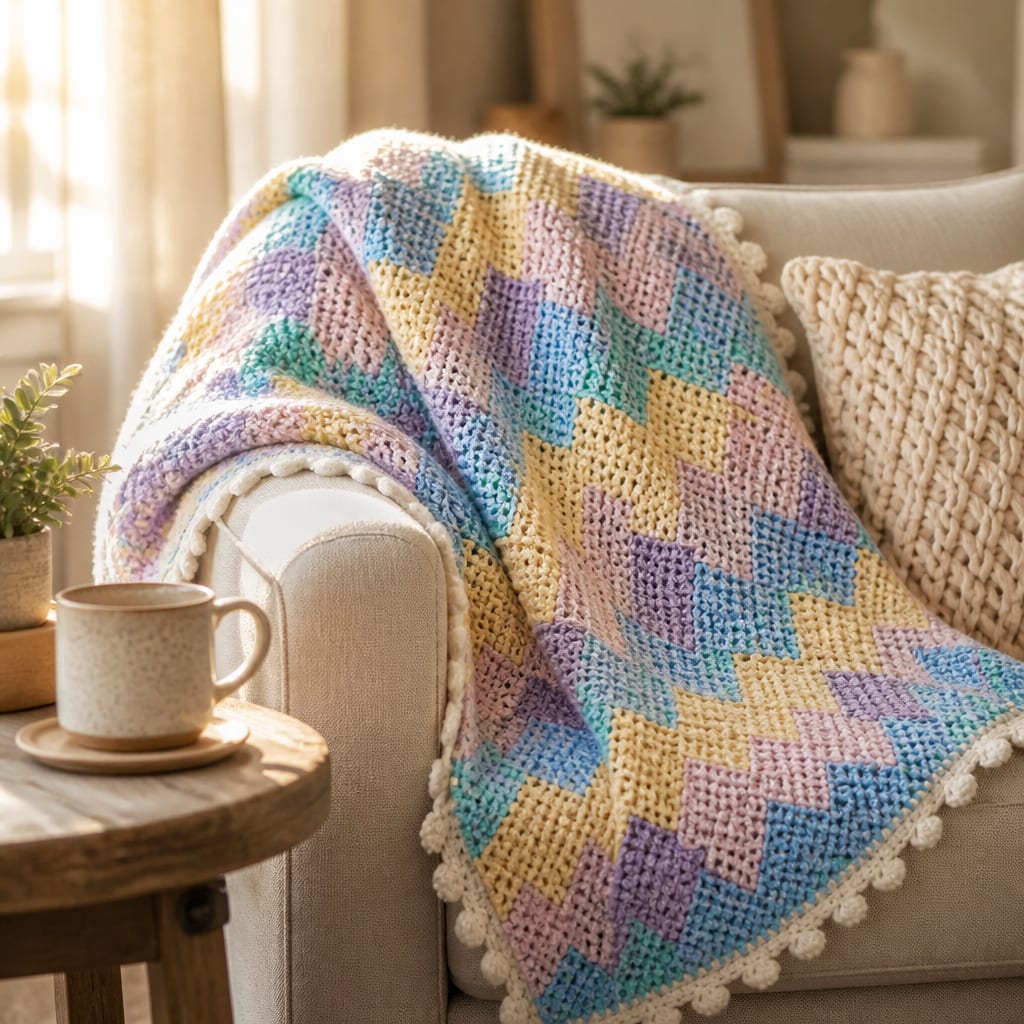
- •This Free crochet entrelac blanket pattern includes organized steps, materials, and helpful resources for crocheters.
- •To begin working with the O'Go format, carefully cut plastic tie where the ends of the O'Go meet. Pull tie to remove. Start crocheting!
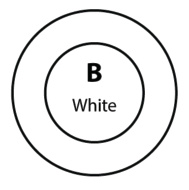
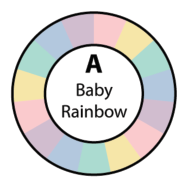
- •Blanket is worked with 1 strand of each A and B held together throughout.
- •Ch 1 or Ch 2 at beg of rows/rnds do not count as stitch.
- •Helpful resources: patterns catalog, crochet patterns for adults, Craft Yarn Council, Ravelry.
Entrelac Base Triangles
0/17Notes
- •Work from ** to ** for First Base Triangle.
With 1 strand of each A and B held together, ch 2.
1st row: (RS). 1 sc in 2nd ch from hook. Turn. 1 sc.
2nd row: Ch 2. (1 hdc. 1 sc) in first st. Turn. 2 sc.
3rd row: Ch 1. 1 sc in first sc. 2 sc in last st. Turn. 3 sc.
4th row: Ch 2. (1 hdc. 1 sc) in first sc. 1 sc in each of last 2 sc. Turn. 4 sc.
5th row: Ch 1. 1 sc in each of first 3 sc. 2 sc in last st. Turn. 5 sc.
6th row: Ch 2. (1 hdc. 1 sc) in first sc. 1 sc in each of last 4 sc. Turn. 6 sc.
7th row: Ch 1. 1 sc in each of first 5 sc. 2 sc in last st. Do not turn. 7 sc. PM to mark RS of Triangle.
Next Base Triangle: Ch 2.
1st row: (RS). 1 sc in 2nd ch from hook. Turn. 1 sc.
2nd row: Ch 2. (1 hdc. 1 sc) in first st. Turn. 2 sc.
3rd row: Ch 1. 1 sc in first sc. 2 sc in last st. Turn. 3 sc.
4th row: Ch 2. (1 hdc. 1 sc) in first sc. 1 sc in each of last 2 sc. Turn. 4 sc.
5th row: Ch 1. 1 sc in each of first 3 sc. 2 sc in last st. Turn. 5 sc.
6th row: Ch 2. (1 hdc. 1 sc) in first sc. 1 sc in each of last 4 sc. Turn. 6 sc.
7th row: Ch 1. 1 sc in each of first 5 sc. 2 sc in last st. Sl st in last sc of last Base Triangle. Do not turn. 7 sts.
Rep 'Next Base Triangle' 7 times more (9 Triangles total including First Base Triangle). Turn.
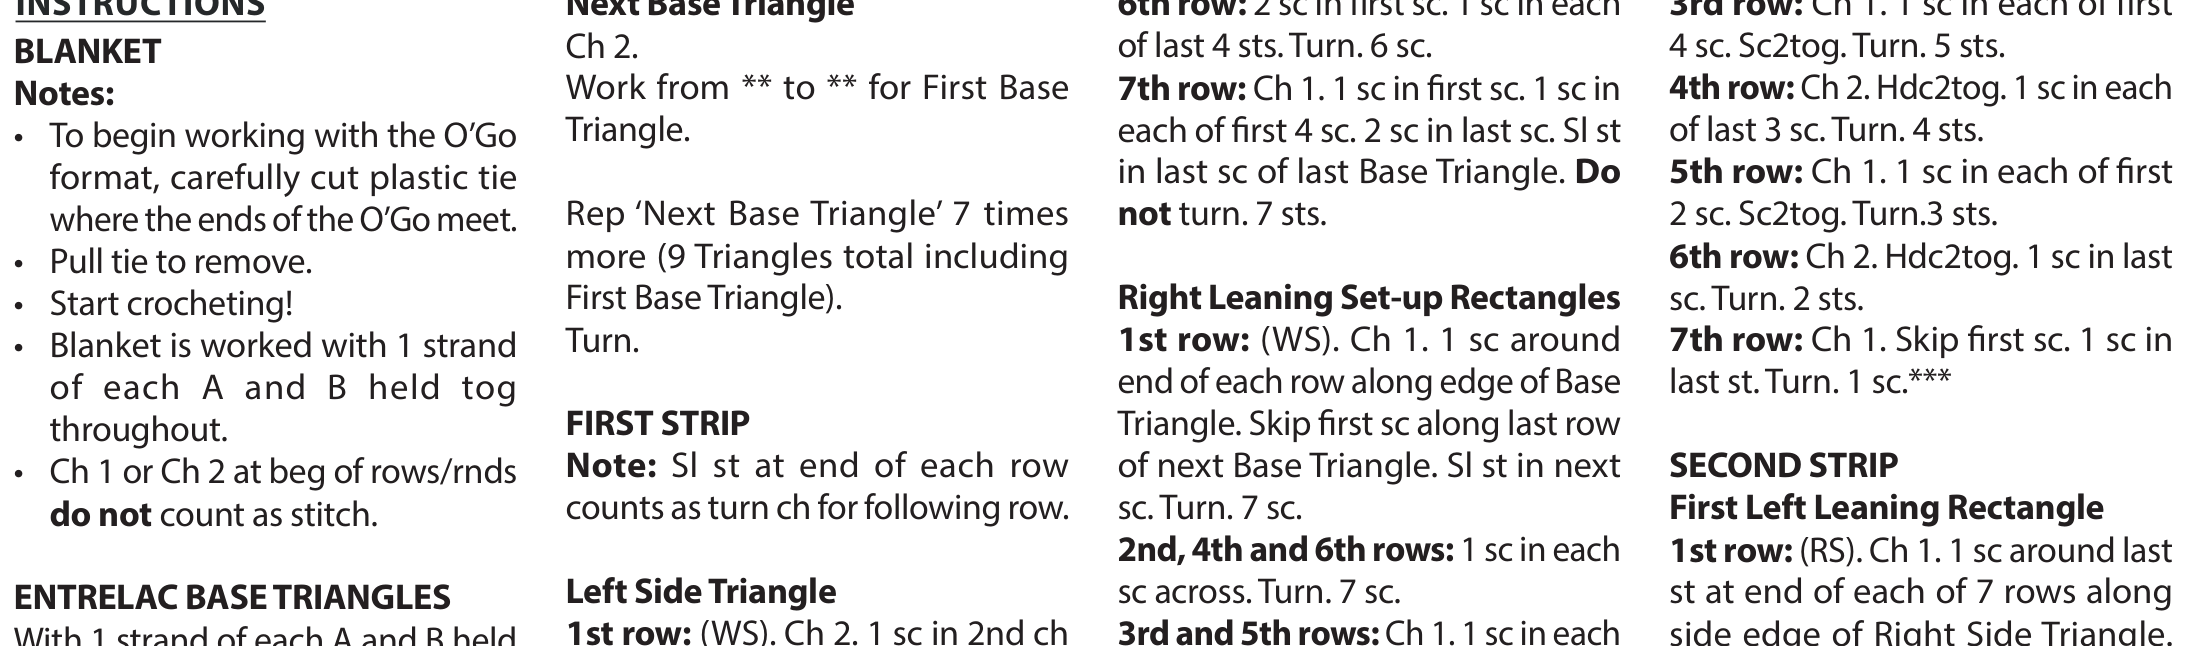
First Strip
0/19Notes
- •Sl st at end of each row counts as turn ch for following row.
Left Side Triangle: 1st row: (WS). Ch 2. 1 sc in 2nd ch from hook. Skip each of first sl st and first sc along last row of last Base Triangle. Sl st in next sc. Turn. 1 sc.
2nd row: 2 sc in first sc. Turn. 2 sc.
3rd row: Ch 2. 1 hdc in first sc. 2 sc in last sc. Skip next sc along last row of first Base Triangle. Sl st in next sc. Turn. 3 sts.
4th row: 2 sc in first sc. 1 sc in each of last 2 sts. Turn. 4 sc.
5th row: Ch 2. 1 hdc in first sc. 1 sc in each of next 2 sc. 2 sc in last sc. Skip next sc along last row of first Base Triangle. Sl st in next sc. Turn. 5 sts.
6th row: 2 sc in first sc. 1 sc in each of last 4 sts. Turn. 6 sc.
7th row: Ch 2. 1 hdc in first sc. 1 sc in each of first 4 sc. 2 sc in last sc. Sl st in last sc of last Base Triangle. Do not turn. 7 sts.
Right Leaning Set-up Rectangles: 1st row: (WS). Ch 1. 1 sc around end of each row along edge of Base Triangle. Skip first sc along last row of next Base Triangle. Sl st in next sc. Turn. 7 sc.
2nd, 4th and 6th rows: 1 sc in each sc across. Turn. 7 sc.
3rd and 5th rows: Ch 1. 1 sc in each sc across. Skip next sc along last row of Base Triangle. Sl st in next sc. Turn. 7 sc.
7th row: Ch 1. 1 sc in each sc across. Sl st in last sc of Base Triangle. Do not turn. 7 sc.
Rep 1st to 7th rows 7 times more. Sl st in next sc. Turn. 7 sc.
Right Side Triangle: 1st row: (WS). Ch 1. 1 sc around last st at end of each of 7 rows along side edge of last Base Triangle. Turn. 7 sc.
2nd row: Ch 2. Hdc2tog. 1 sc in each of last 5 sc. Turn. 6 sts.
3rd row: Ch 1. 1 sc in each of first 4 sc. Sc2tog. Turn. 5 sts.
4th row: Ch 2. Hdc2tog. 1 sc in each of last 3 sc. Turn. 4 sts.
5th row: Ch 1. 1 sc in each of first 2 sc. Sc2tog. Turn. 3 sts.
6th row: Ch 2. Hdc2tog. 1 sc in last sc. Turn. 2 sts.
7th row: Ch 1. Skip first sc. 1 sc in last st. Turn. 1 sc.
Second Strip
0/11First Left Leaning Rectangle: 1st row: (RS). Ch 1. 1 sc around last st at end of each of 7 rows along side edge of Right Side Triangle. Skip first sc along last row of next Right Leaning Rectangle. Sl st in next sc. Turn. 7 sc.
2nd, 4th and 6th rows: 1 sc in each sc across. Turn. 7 sc.
3rd and 5th rows: Ch 1. 1 sc in each of 7 sc across. Skip next sc along last row of Right Leaning Rectangle. Sl st in next sc. Turn. 7 sc.
7th row: Ch 1. 1 sc in each of 7 sc across. Sl st in tip at top of Right Leaning Rectangle. Do not turn. 7 sc.
Left Leaning Rectangles: 1st row: (RS). Ch 1. 1 sc around last st at end of each of 7 rows along side edge of Right Leaning Rectangles. Skip first sc along last row of next Right Leaning Rectangle. Sl st in next sc. Turn. 7 sc.
2nd to 7th rows: Rep 2nd to 7th rows as for First Left Leaning Rectangle.
Rep 1st to 7th rows 6 times more.
Last Left Leaning Rectangle: 1st row: (RS). Ch 1. 1 sc around last st at end of each of 7 rows along side edge of Right Leaning Rectangle. Skip first sc along last row of next Left Side Triangle. Sl st in next sc. Turn. 7 sc.
2nd, 4th and 6th rows: 1 sc in each sc across. Turn. 7 sc.
3rd and 5th rows: Ch 1. 1 sc in each of 7 sc across. Skip next sc along last row of Left Side Triangle. Sl st in next sc. Turn. 7 sc.
7th row: Ch 1. 1 sc in each of 7 sc across. Sl st in last sc of Left Side Triangle. Turn. 7 sc.
Third Strip
0/15Left Side Triangle: 1st row: (WS). Ch 2. 1 sc in 2nd ch from hook. Skip first sc along last row of last Left Leaning Rectangle. Sl st in next sc. Turn. 1 sc.
2nd row: 2 sc in first sc. Turn. 2 sc.
3rd row: Ch 2. 1 hdc in first sc. 2 sc in last sc. Skip next sc along last row of Left Leaning Rectangle. Sl st in next sc. Turn. 3 sts.
4th row: 2 sc in first sc. 1 sc in each of last 2 sts. Turn. 4 sc.
5th row: Ch 2. 1 hdc in first sc. 1 sc in each of next 2 sc. 2 sc in last sc. Skip next sc along last row of Left Leaning Rectangle. Sl st in next sc. Turn. 5 sts.
6th row: 2 sc in first sc. 1 sc in each of last 4 sts. Turn. 6 sc.
7th row: Ch 2. 1 hdc in first sc. 1 sc in each of first 4 sc. 2 sc in last sc. Sl st in last sc of Left Leaning Triangle. Do not turn. 7 sts.
Right Leaning Rectangles: 1st row: (WS). Ch 1. 1 sc around end of each row along edge of next Left Leaning Rectangle. Skip first sc along last row of next Left Leaning Rectangle. Sl st in next sc. Turn. 7 sc.
2nd, 4th and 6th rows: 1 sc in each sc across. Turn. 7 sc.
3rd and 5th rows: Ch 1. 1 sc in each sc across. Skip next sc along last row of Left Leaning Rectangle. Sl st in next sc. Turn. 7 sc.
7th row: Ch 1. 1 sc in each sc across. Sl st in last sc of Left Leaning Rectangle. Do not turn. 7 sc.
Rep 1st to 7th rows 7 times more.
Right Side Triangle: 1st row: (WS). Ch 1. 1 sc around last st at end of each of 7 rows along side edge of last Left Leaning Rectangle. Turn. 7 sc.
Work from *** to *** for Right Side Triangle from First Strip.
Rep Second and Third Strips 7 times more.
Final Triangles
0/10First Final Triangle: 1st row: (RS). Ch 1. 1 sc around last st at end of each of 7 rows along side edge of last Right Side Triangle. Skip each of first sl st and first sc along last row of next Right Leaning Rectangle. Sl st in next sc. Turn. 7 sc.
2nd row: 1 sc in each of first 5 sc. Sc2tog. Turn. 6 sts.
3rd row: Ch 2. Hdc2tog. 1 sc in each of last 4 sc. Skip next sc along last row of Right Leaning Rectangle. Sl st in next sc. Turn. 5 sts.
4th row: 1 sc in each of first 3 sc. Sc2tog. Turn. 4 sts.
5th row: Ch 2. Hdc2tog. 1 sc in each of last 2 sc. Skip next sc along last row of Right Leaning Rectangle. Sl st in next sc. Turn. 3 sts.
6th row: 1 sc in next sc. Sc2tog. Turn. 2 sts.
7th row: Ch 1. Sc2tog. Sl st in last st along last row of Right Leaning Rectangle. Do not turn.
Last Final Triangle: 1st row: (RS). Ch 1. 1 sc around last st at end of each of 7 rows along side edge of next Right Leaning Rectangle. Skip first sc along last row of Left Side Triangle. Sl st in next sc. Turn. 7 sc.
2nd to 7th rows: Rep 2nd to 7th rows as for First Final Triangle.
Rep 1st to 7th rows 7 times more.
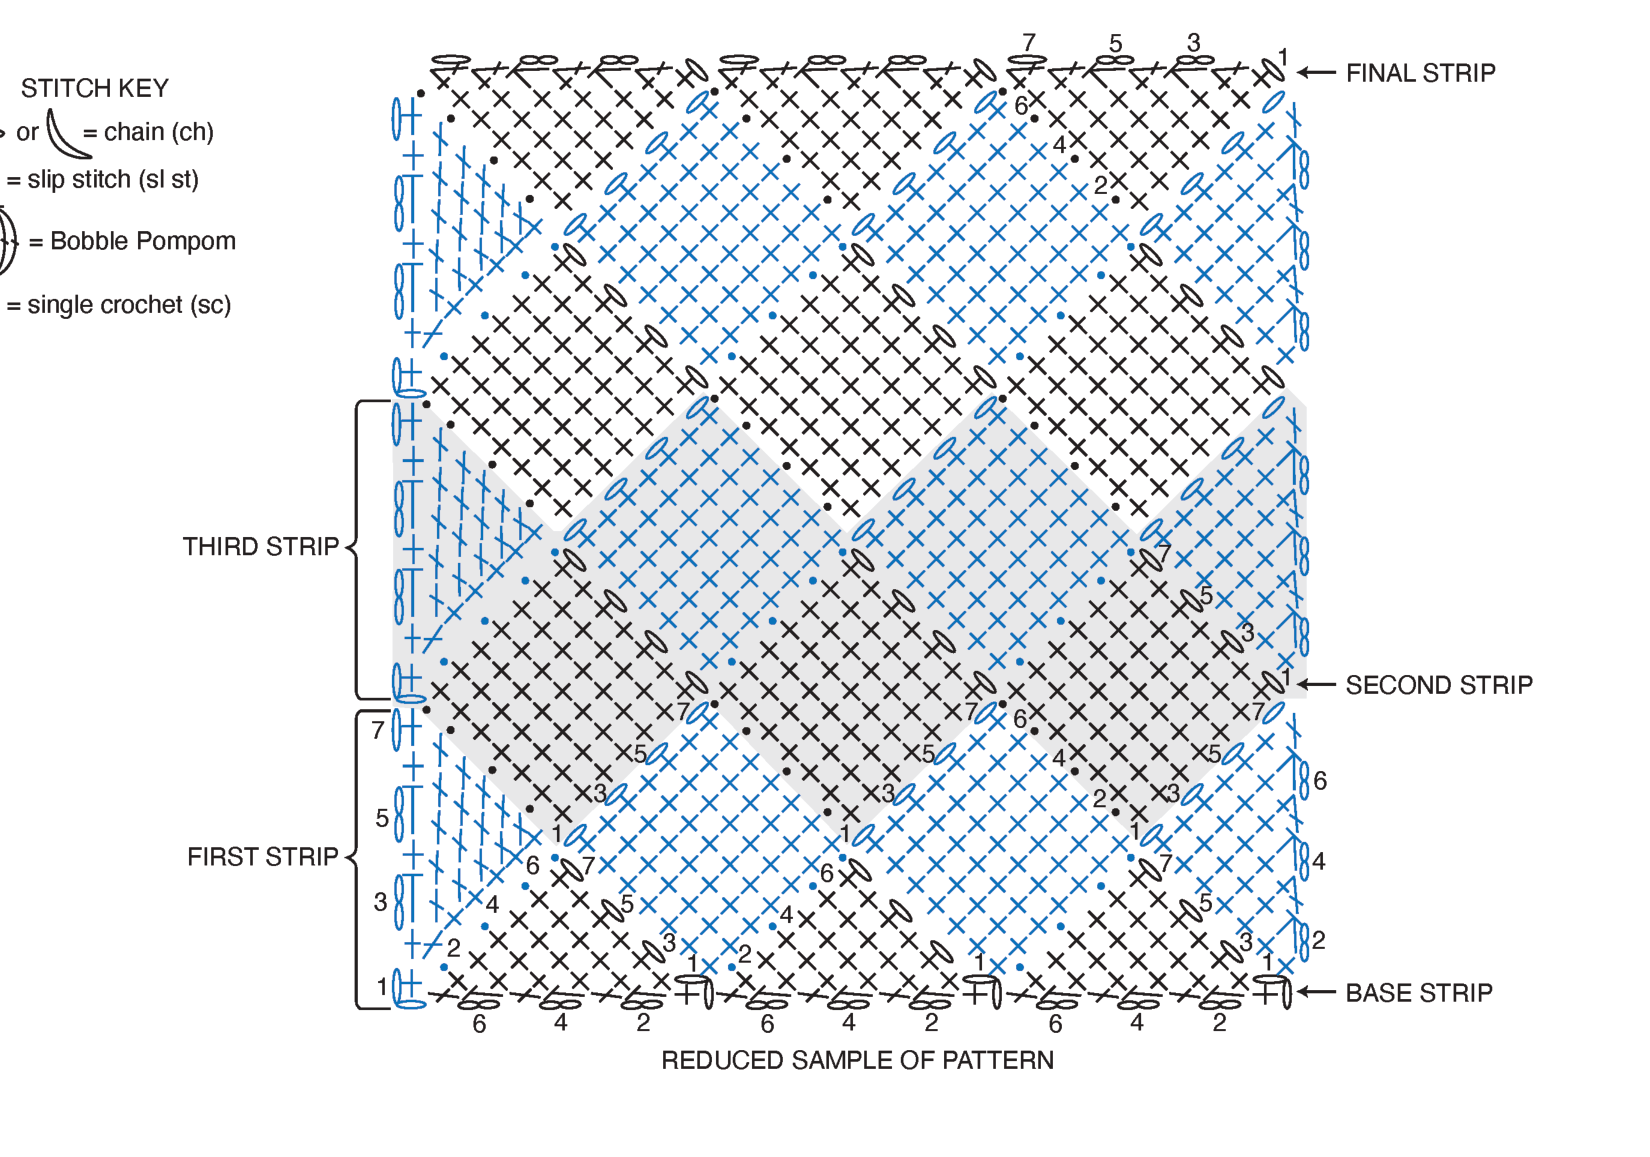
Finishing
0/5Blocking: Pin completed Blanket to measure 45" [114.5 cm] square. Cover with a damp towel to dry.
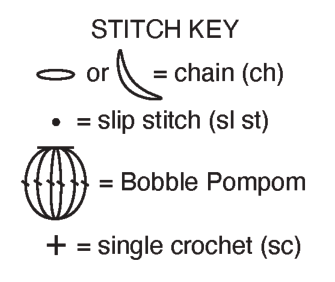
Edging Notes: Edging is worked with 2 strands of A held together. When working through 4th ch from hook for Bobble Pompom, work under 2 loops of ch, instead of one, to ensure ch sp does not stretch open.
1st rnd: (RS). Join 2 strands A (held together) with sl st to any corner of Blanket. Ch 1. Work 88 sc (or multiple of 4 sts) evenly across each side of Blanket, working 4 sc in each corner. Join with sl st to first sc.
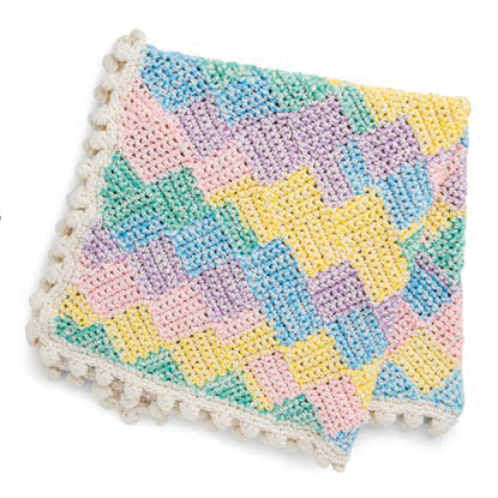
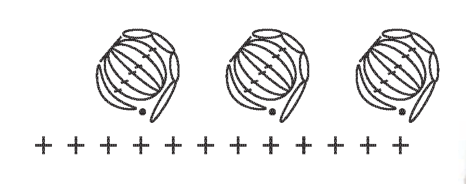
Proceed with Bobble Pompom Edging as follows: Note: Bobble Pompom Edging worked over st multiple of 4 sts.
1st rnd: (RS). Ch 1. 1 sc in first sc. Ch 4. (Yoh and draw up a loop. Yoh and draw through 2 loops on hook) 6 times all in 4th ch from hook. Yoh and draw through all 7 loops on hook. Ch 1 tightly to close - Bobble Pompom made. Sl st in same 4th ch from hook (Bobble Pompom will naturally fold in half forming a ball shape). 1 sc in each of next 3 sc. *1 sc in next sc. Ch 4. Bobble Pompom in 4th ch from hook. Sl st in same 4th ch from hook. 1 sc in each of last 3 sc. Rep from * around. Join with sl st in first sc. Fasten off.

FAQ
Questions about this pattern
Is Free Crochet Entrelac Blanket Pattern good for beginners?+
Free Crochet Entrelac Blanket Pattern is marked intermediate, so it is better after you have finished a few crochet patterns for beginners. Read the full instructions first and check each shaping or assembly note before starting.
What yarn weight do I need for Free Crochet Entrelac Blanket Pattern?+
This pattern lists Bulky (5). If you substitute yarn, make a gauge swatch before starting so the finished size stays close to the pattern notes.
How long does Free Crochet Entrelac Blanket Pattern take to crochet?+
The estimated time is 20–30 hours. Your pace may change depending on yarn choice, stitch familiarity, and how much finishing the project needs.
Do I need to check gauge for this crochet pattern?+
Yes. The pattern gauge is 8 sc and 9 rows = 4" [10 cm] with larger hook and 2 strands yarn held together.. Use the listed hook size, U.S. L/11 (8 mm), unless your swatch tells you to adjust. Checking gauge helps avoid a finished project that is too small, too large, or too stiff.
Can I print Free Crochet Entrelac Blanket Pattern?+
Yes. Use the Print button near the top of the post for a cleaner pattern view that hides interactive extras and navigation.